
Stephanie
Winter break art!
I hope everyone had a great winter break! Either way, it's over now, so let's recap some events that happened over winter break, and plans moving forwards. Since there are a multitude of events that happened, I'll break this blog post up into multiple parts.
There were surprisingly a lot of birthdays recently! One day over break, I decided to make a drawing as a gift for one of my friend's birthdays, since I wanted to experiment with watercolor (I wasn't too familiar with it, in contrast to acrylic or oil, which I use much more often. You can see one of my first recent watercolor art pieces over at my Instagram!). So, welcome to my
✨ DIY art tutorial (this is like my second time every using watercolor) ✨
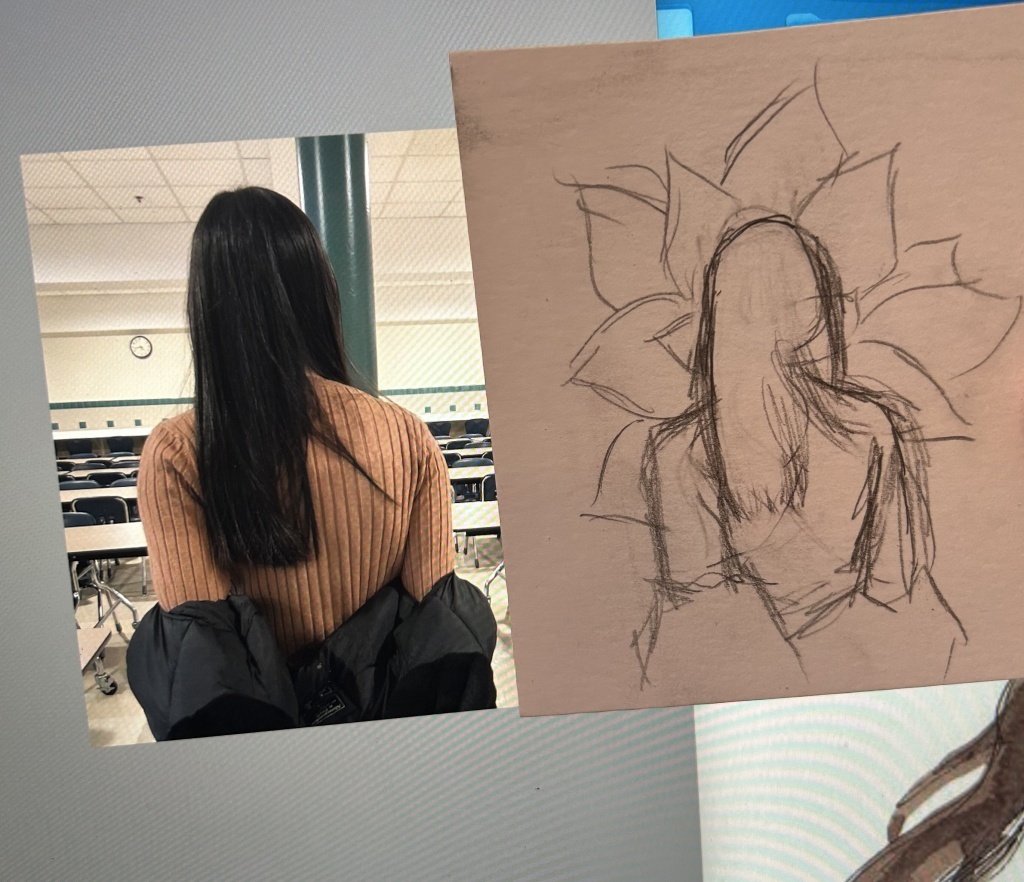
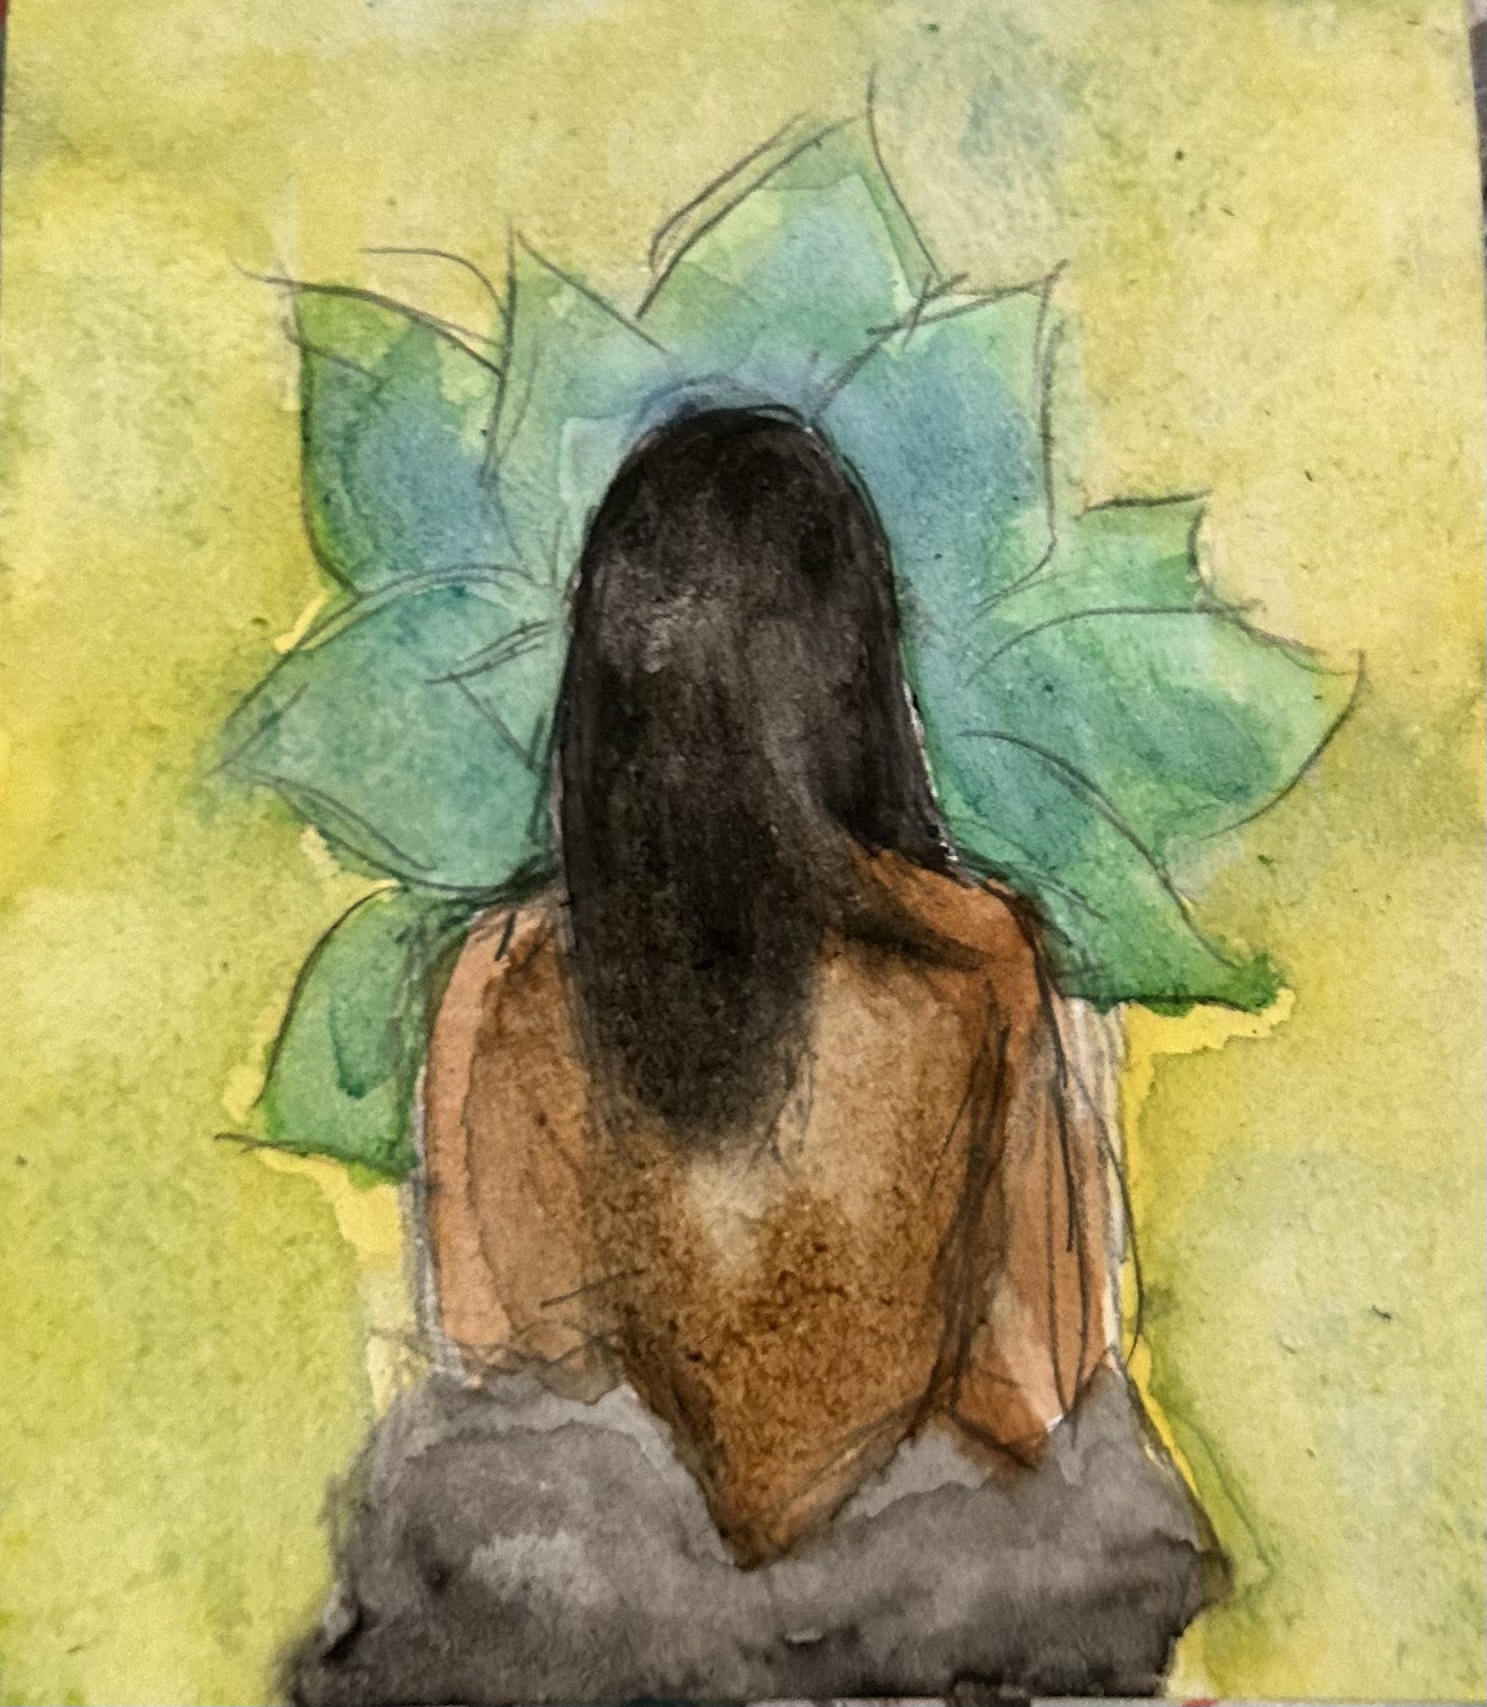
Step 1. find a picture that you want to draw and make a sketch. Feel free to add flourish! (I added a flower)
Step 2. lay down your first, base layer of watercolor
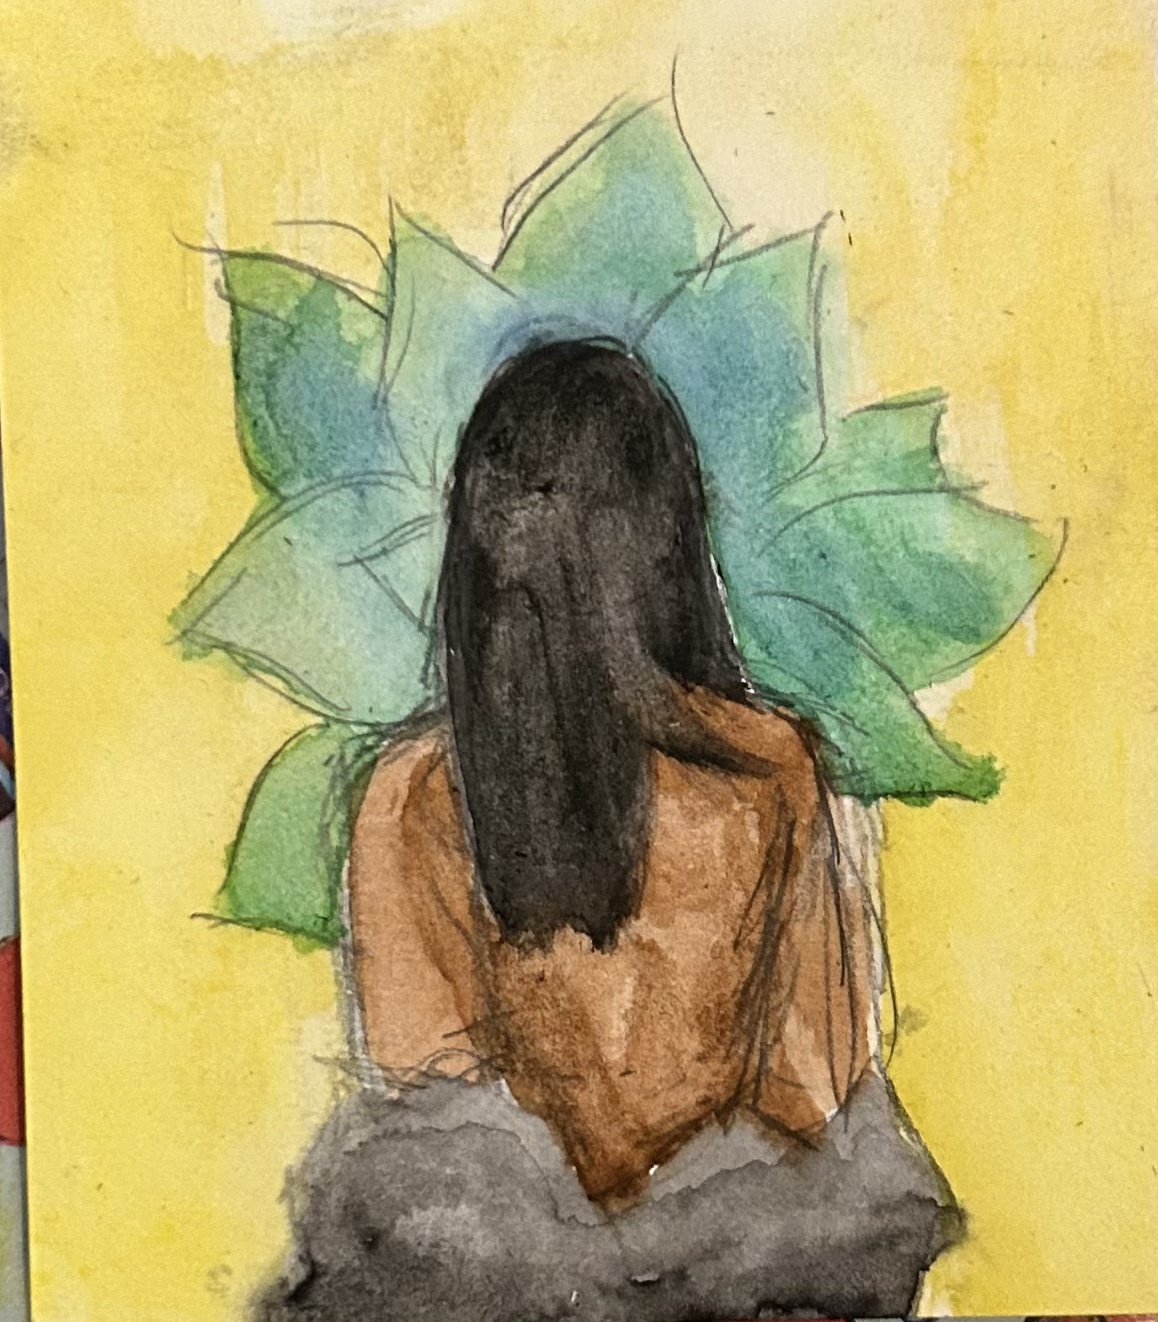
Step 3. add your second layer of watercolor to emphasize colors, details, etc.
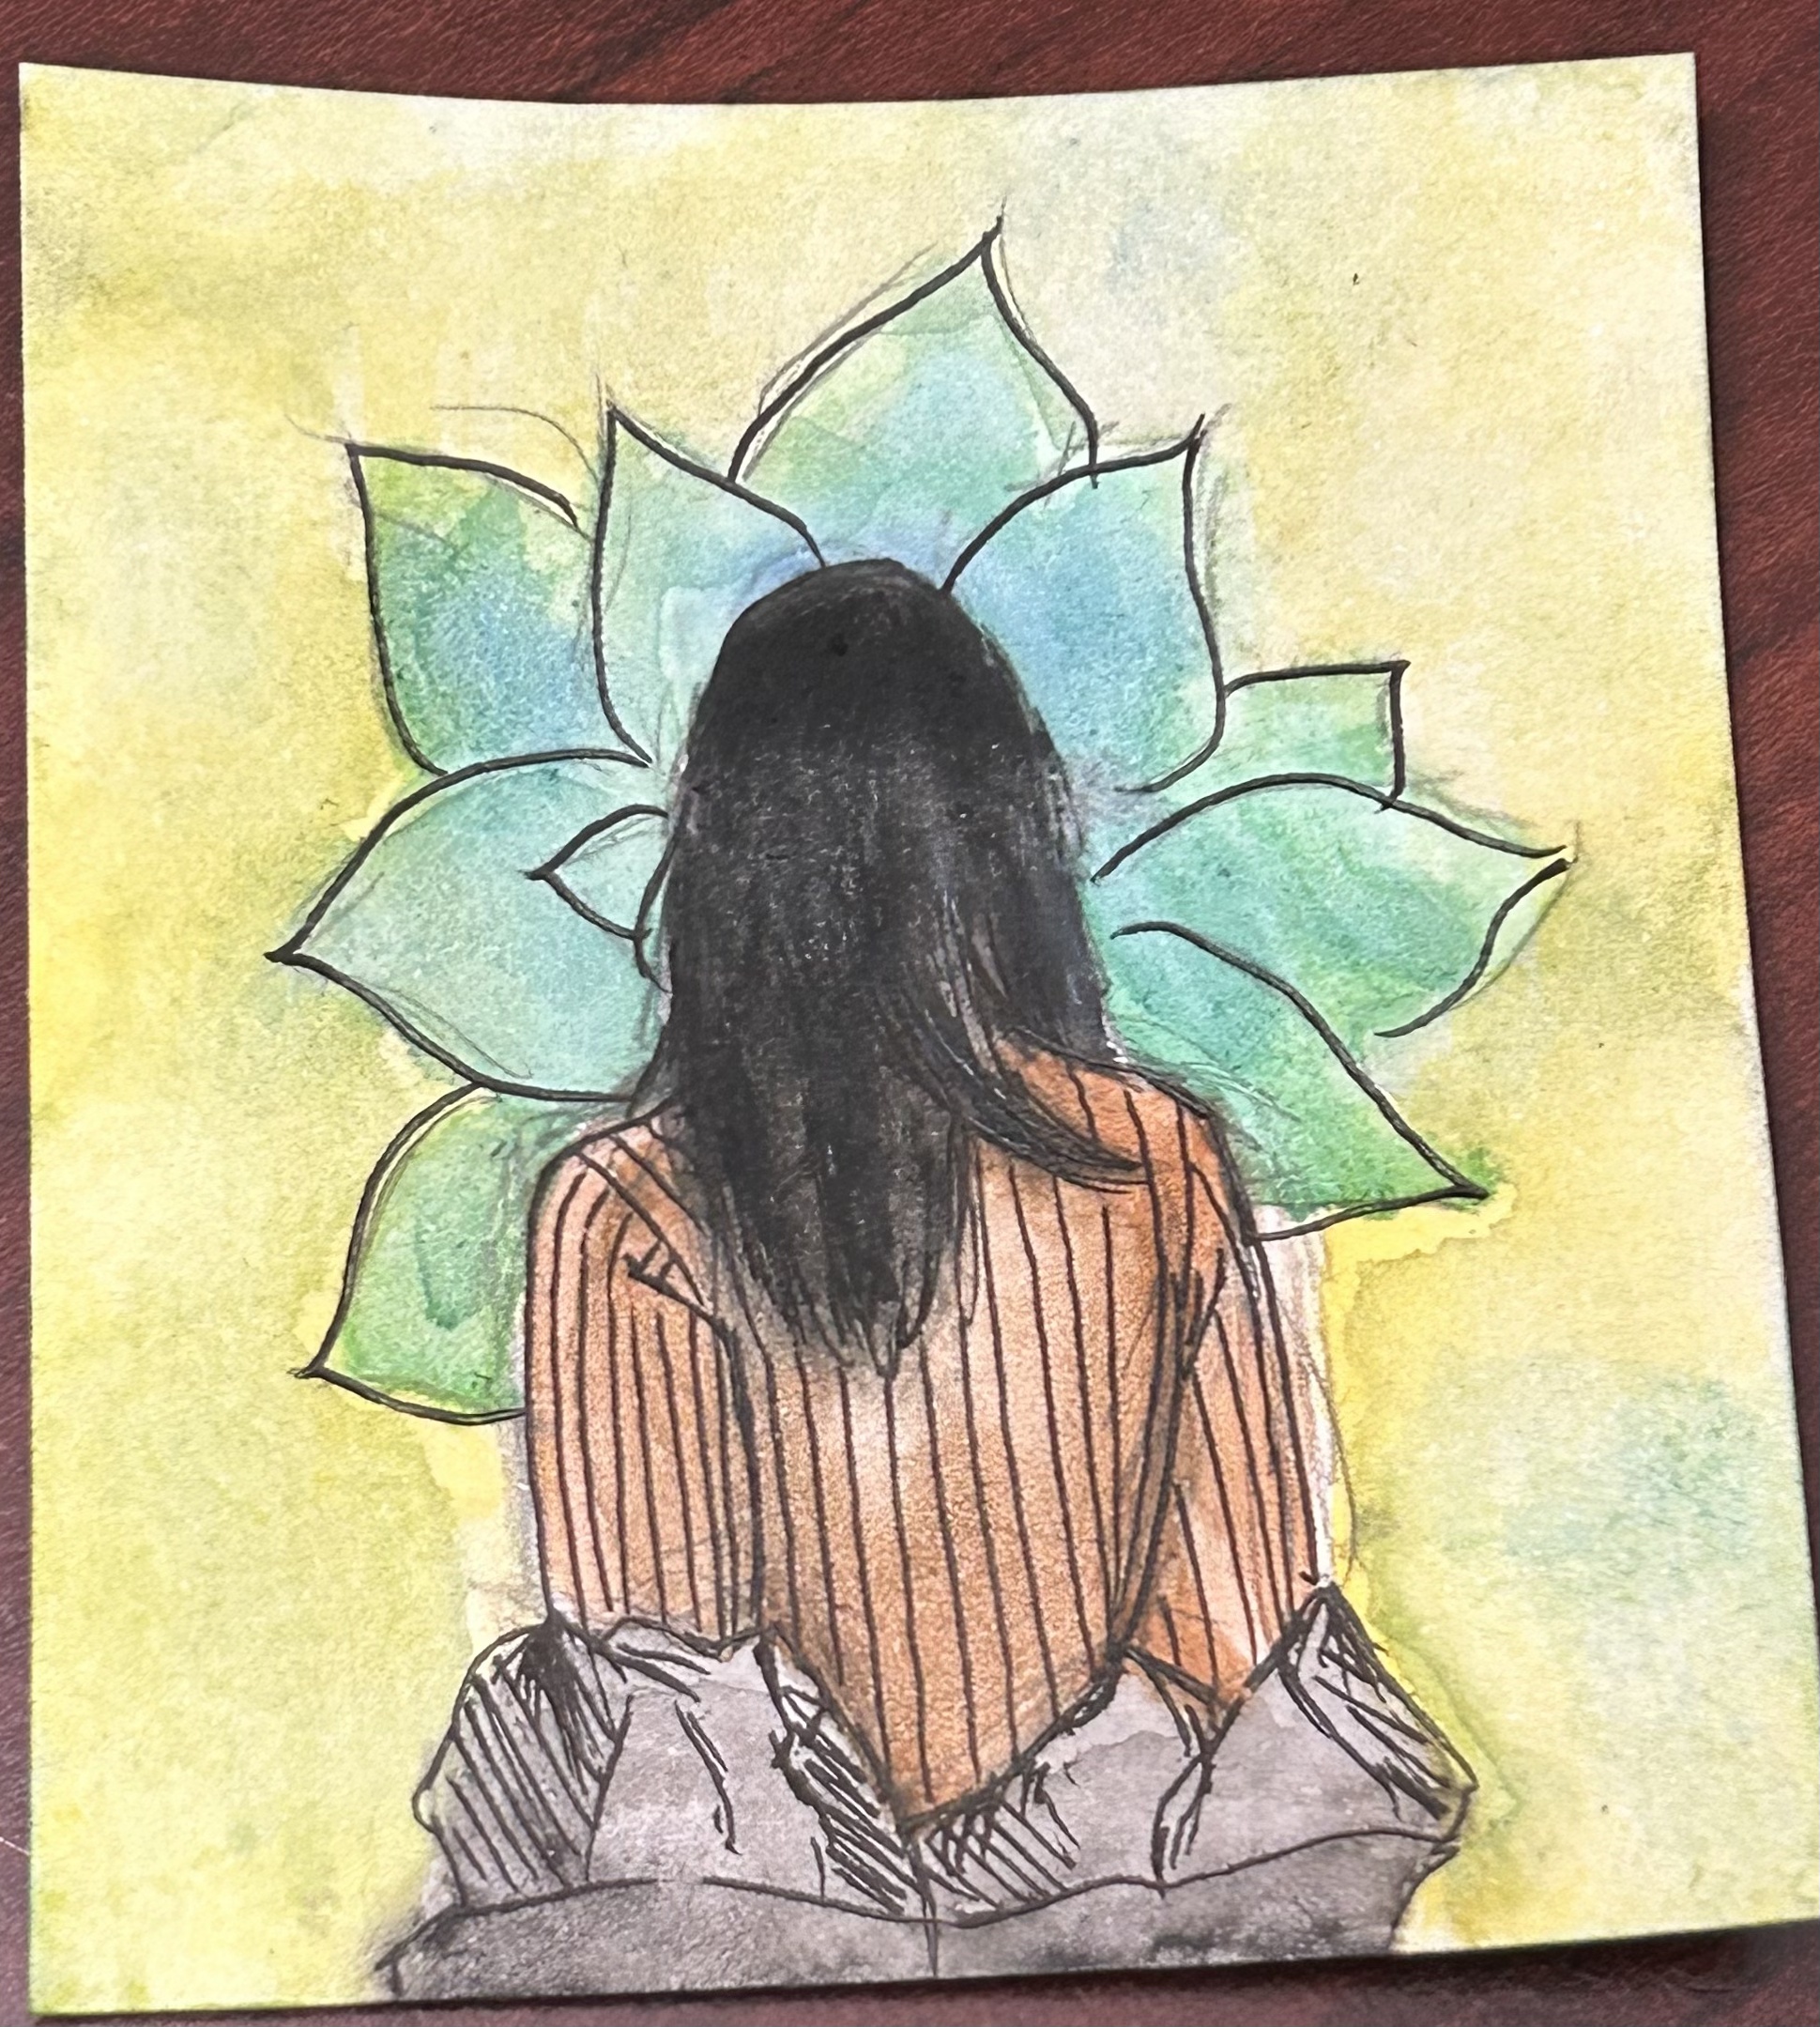
Step 4. go over your original sketch with ink/a pen, feel free to add details!
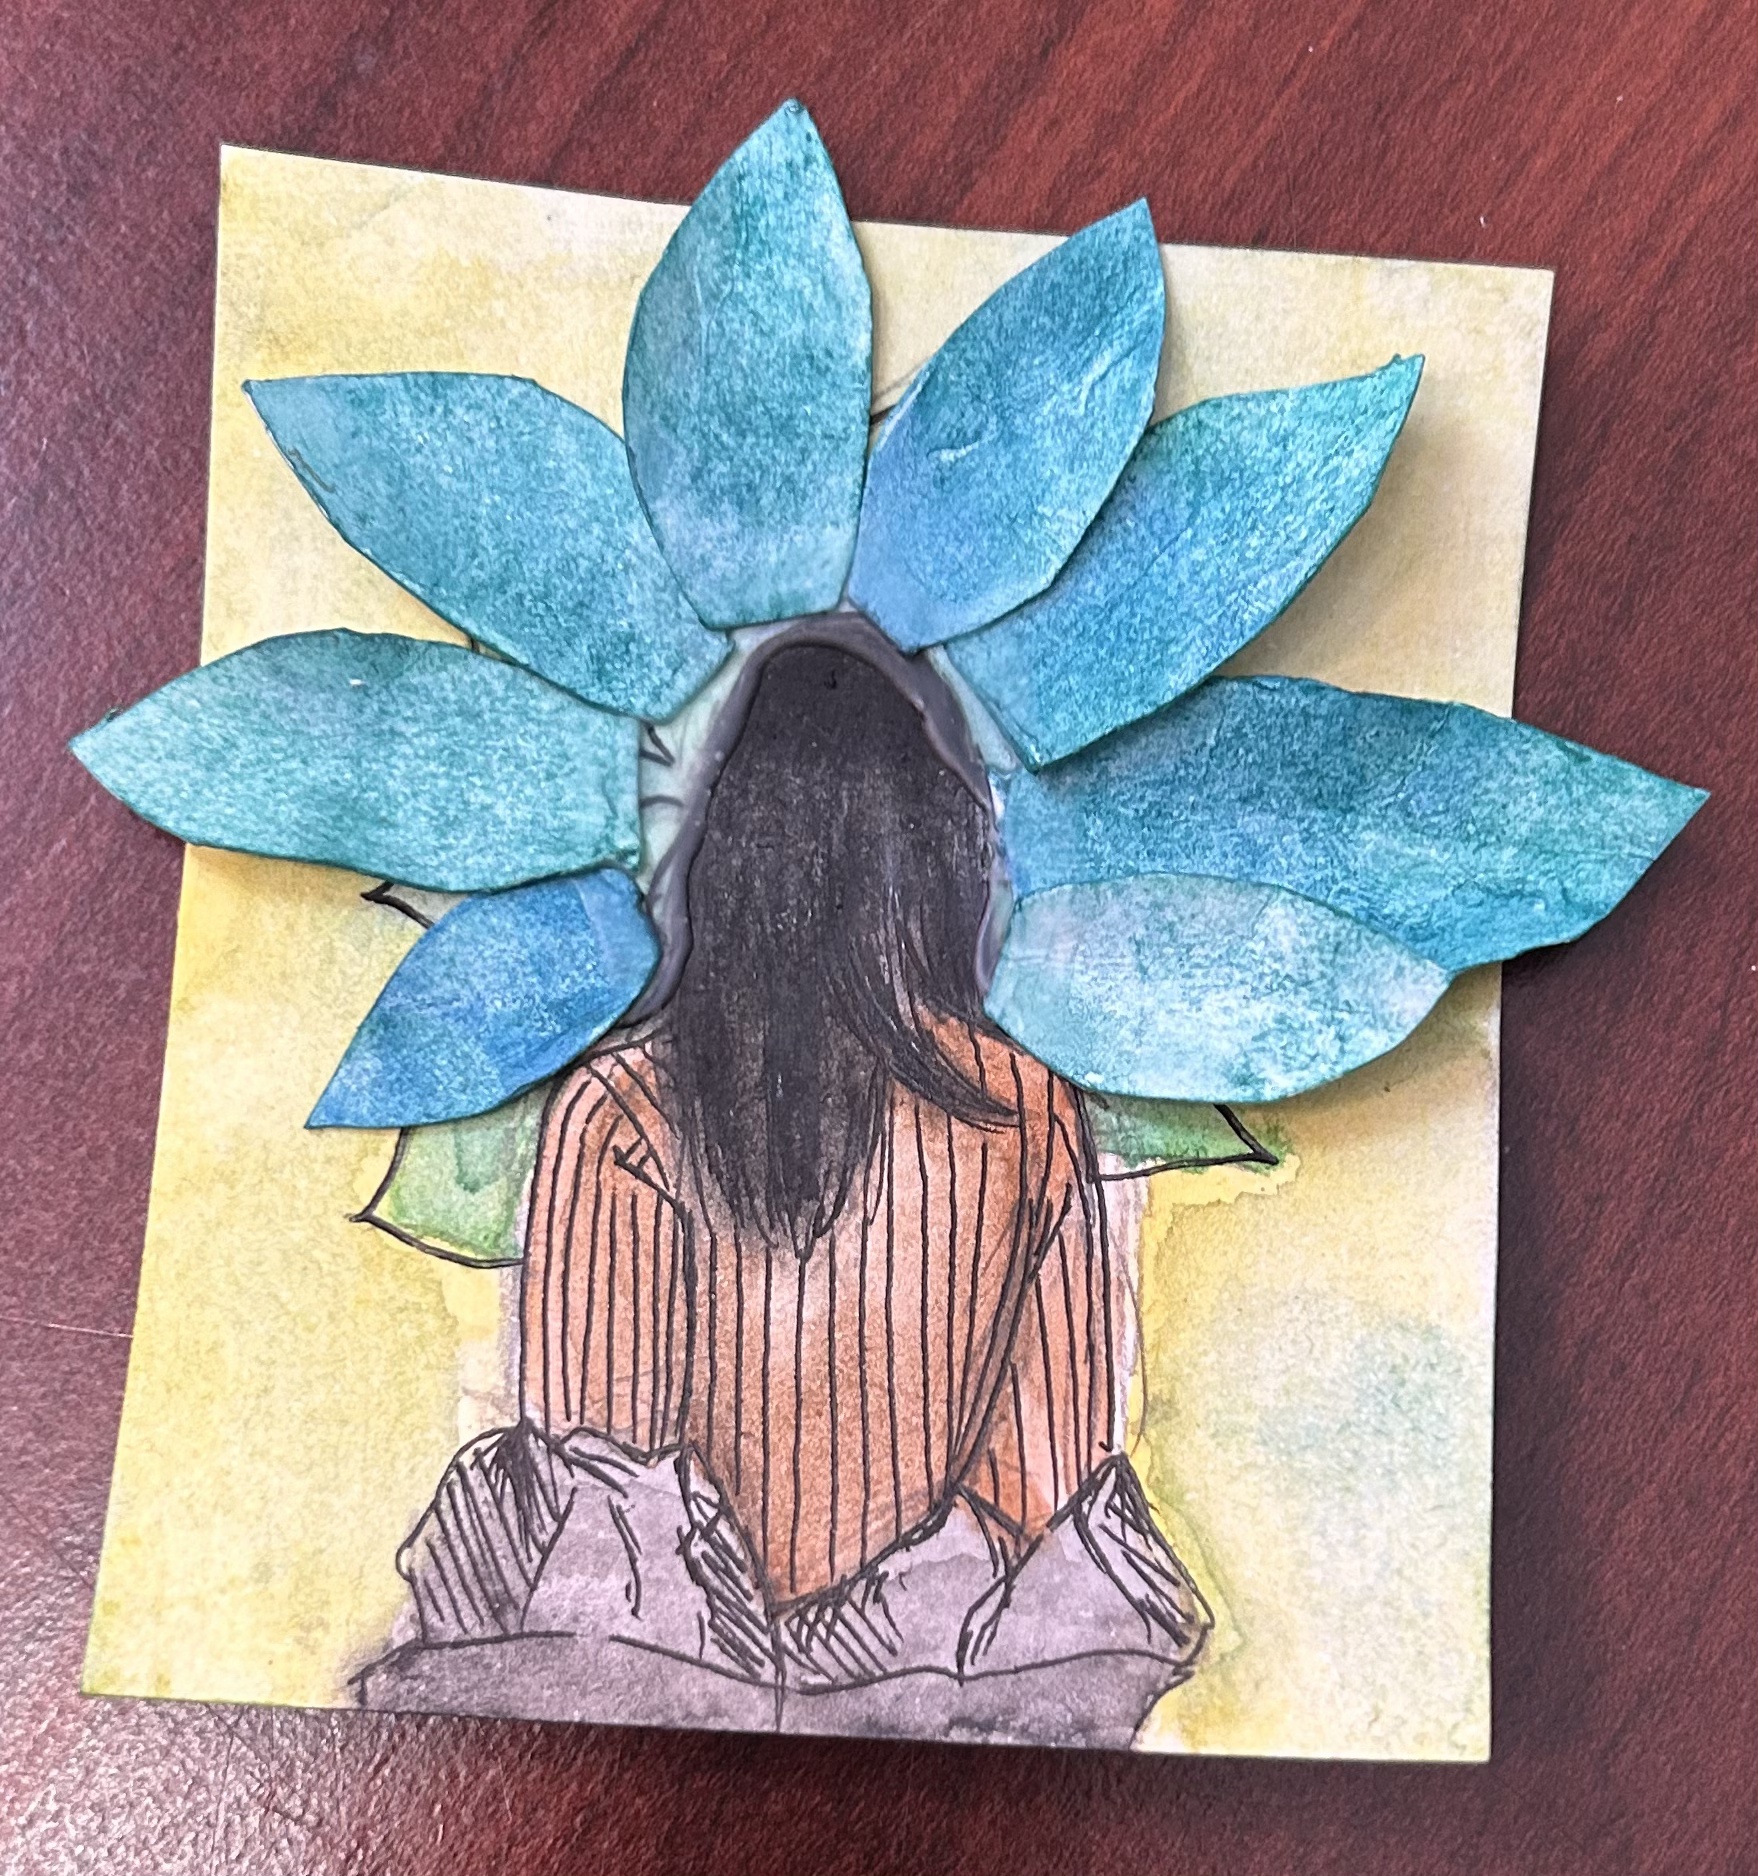
Step 5. (this step, along with all the steps below, are optional, also really specific) You can add 3d elements by cutting out pieces of paper, painting them, and gluing them to your art piece! I did so with petals, to make a flowery framing effect.
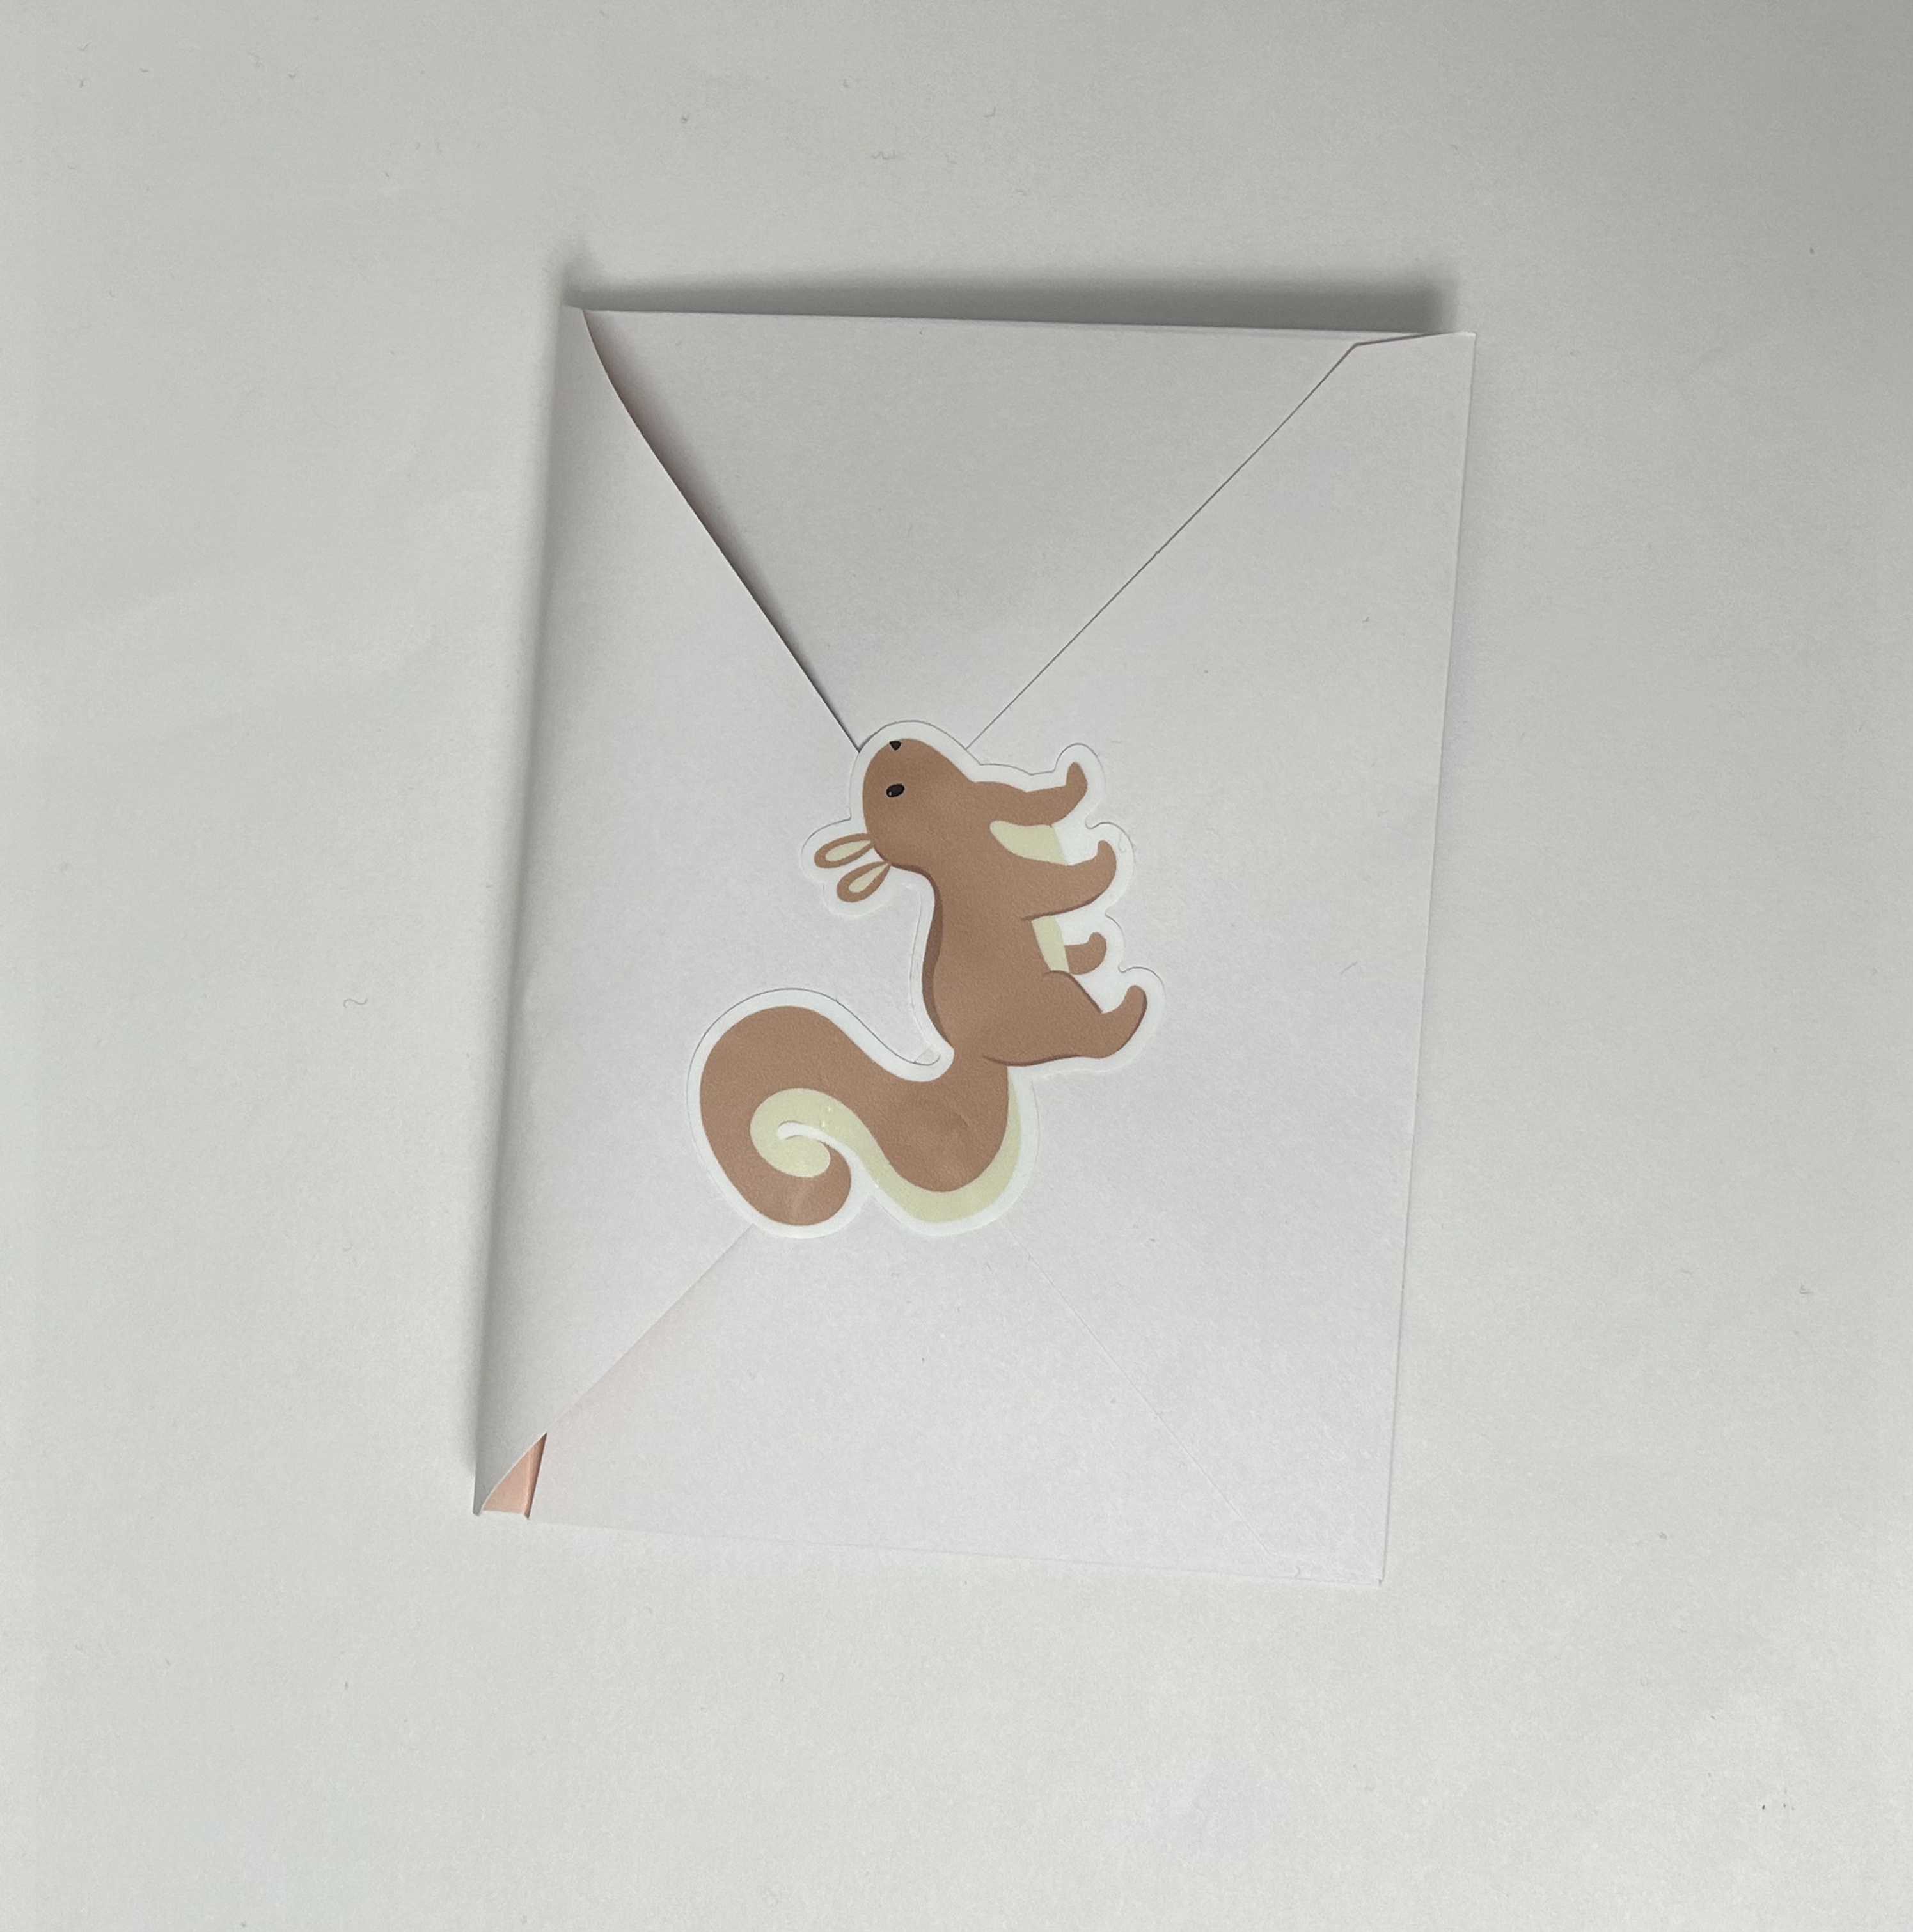
Step 6. take an envelope to put the art piece in
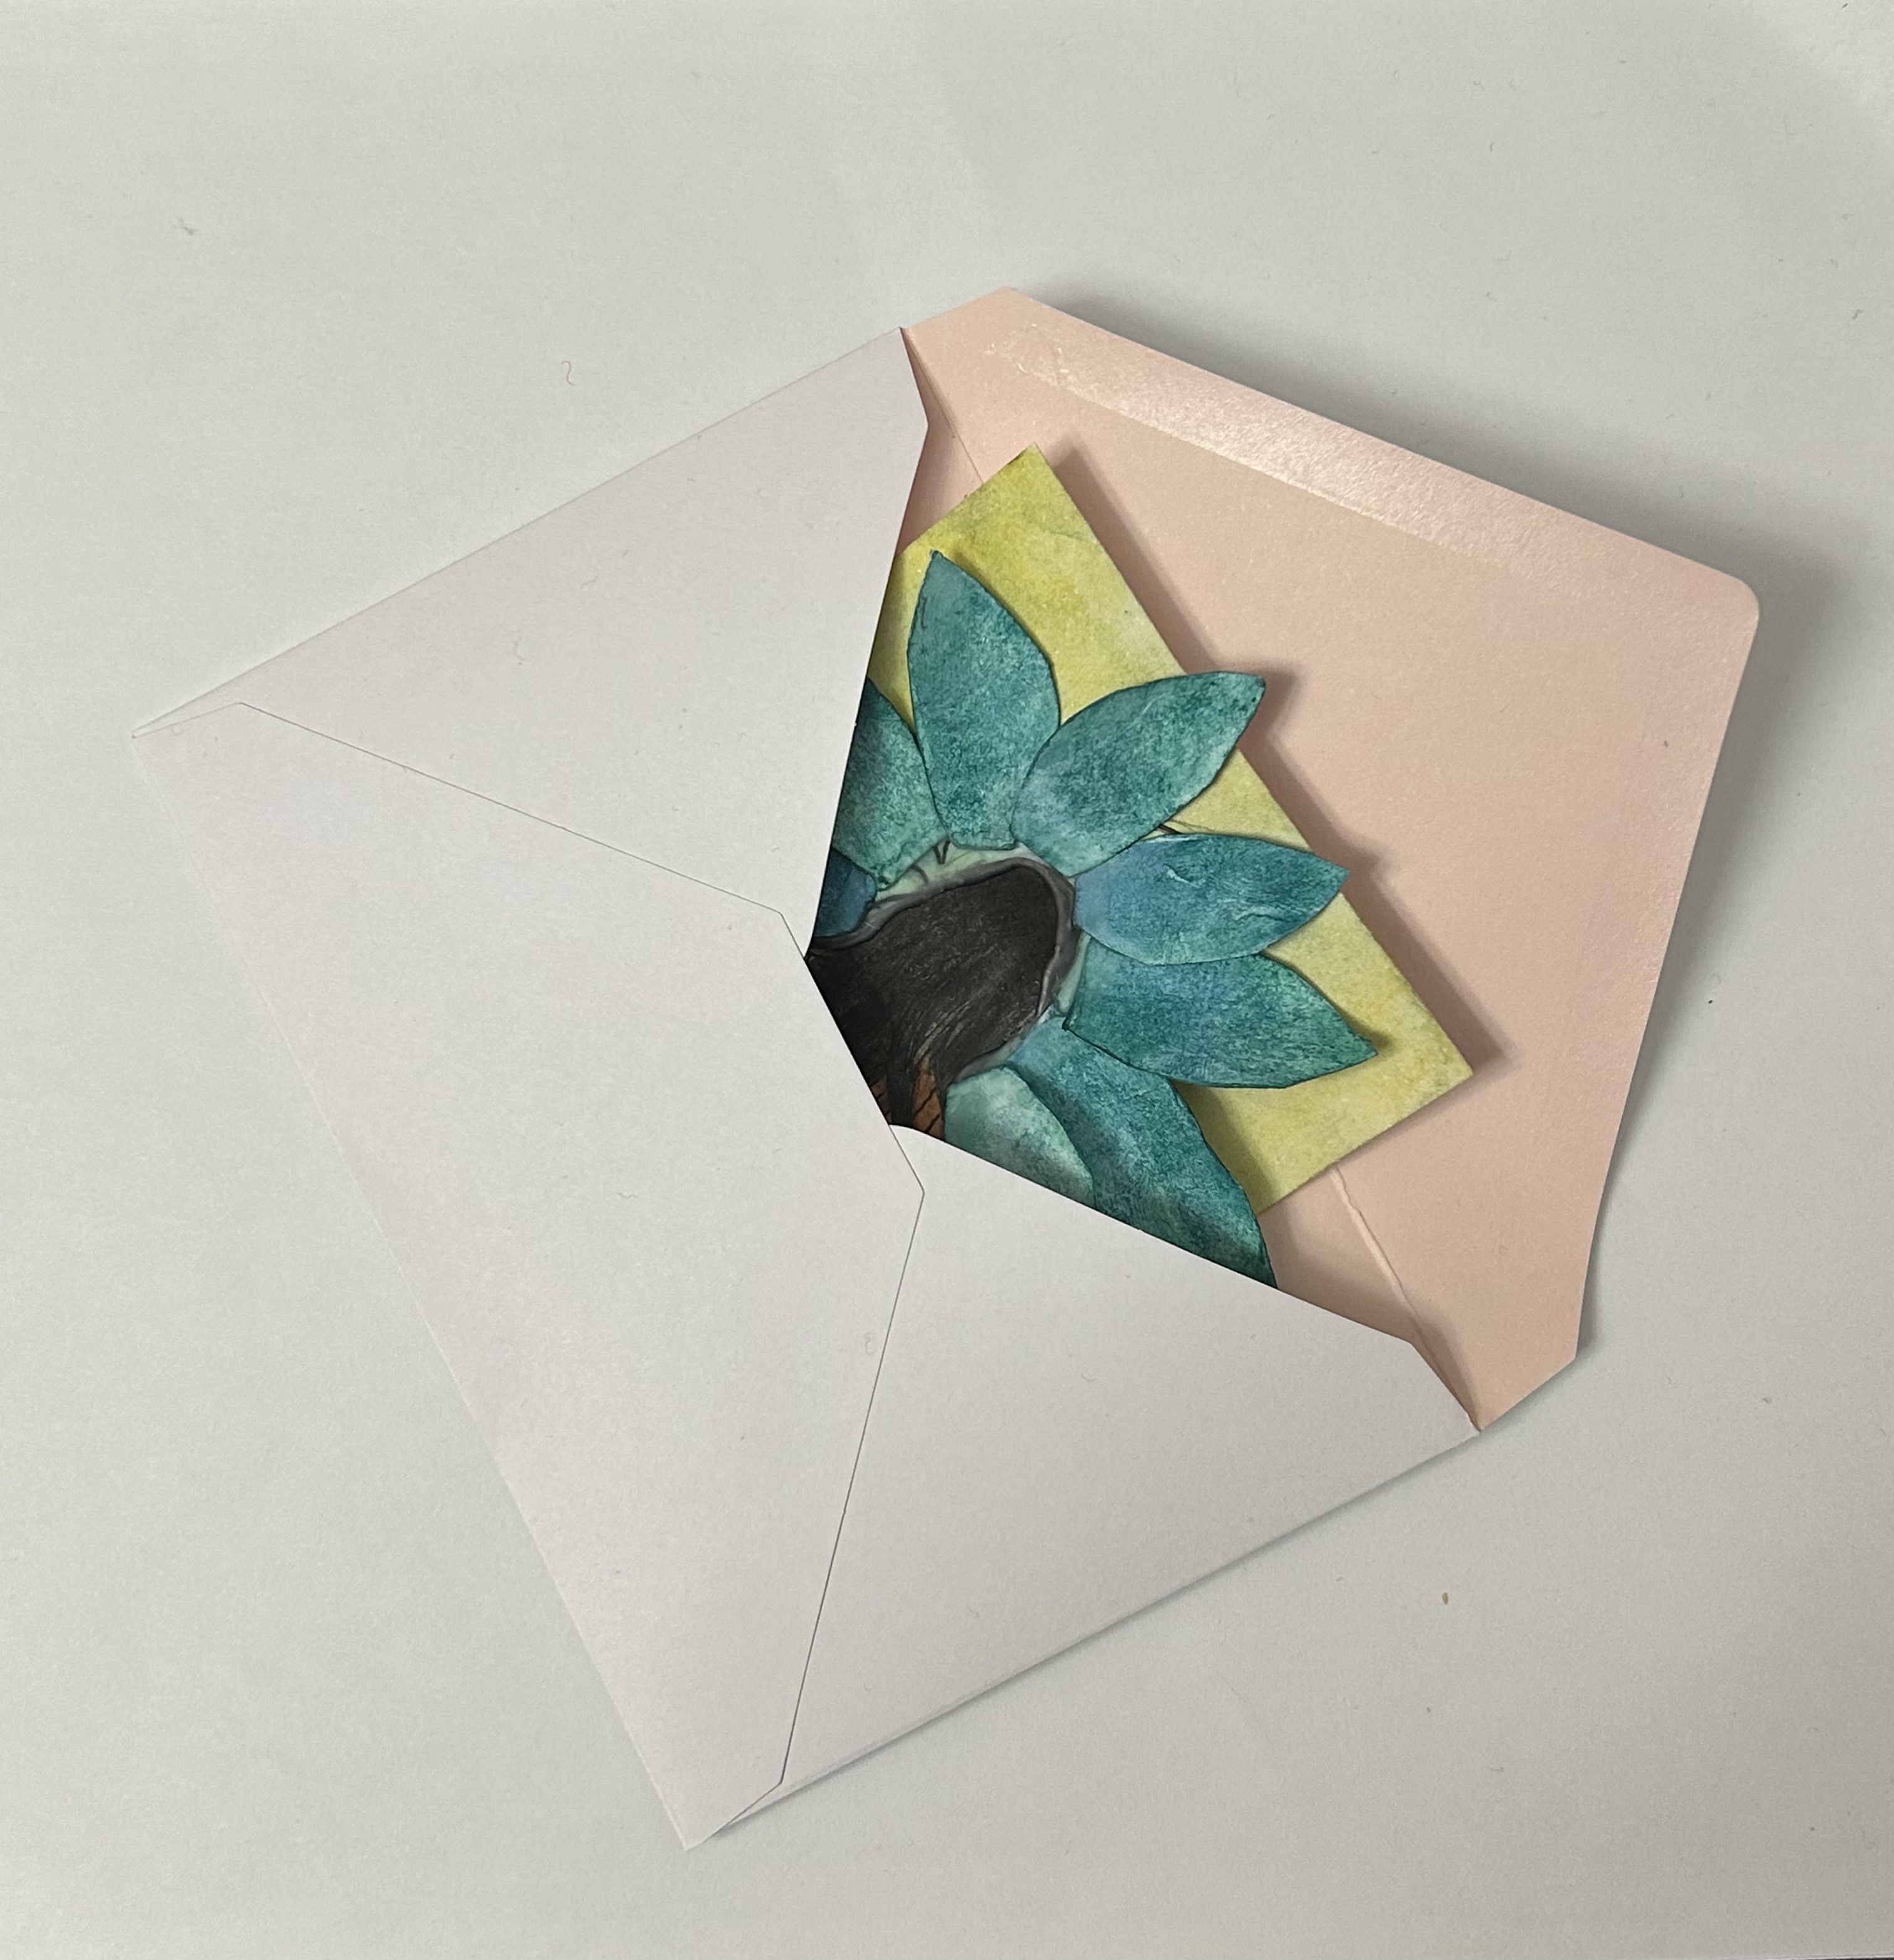
Step 7. close the envelope, and now you're done! ta-da! a gift for a friend, made with love <3